How to Install Kali Linux on a Apple Silicon Mac
"Are you ready to unleash the power of Kali Linux on your Apple Silicon Mac? Installing Kali Linux on your M1 or M2 Mac is easier than ever! With the latest advancements in Apple Silicon technology, you can now run the popular penetration testing OS alongside macOS. In this article, we'll guide you through the step-by-step process of installing Kali Linux on your Apple Silicon Mac, leveraging the latest updates in UEFI firmware and Linux kernel support. Get ready to tap into the extensive toolkit of Kali Linux and take your cybersecurity skills to the next level!"
- 1. Download Kali Linux
- Go to www.kali.org
- Click Installer Images
- Click Apple Silicon (ARM64)

- 2. Download VMware Fusion Personal Use Version (Free)
- Go to https://customerconnect.vmware.com/en/evalcenter?p=fusion-player-personal-13
- Click Create an Account
- After Creating account go back to the fusion personal use license page.
- Click License & Download Tab
- Copy License Key
- Paste License Key into Fusion.

- 3. Install Kali Linux as virtual machine
- Open VMware Fusion
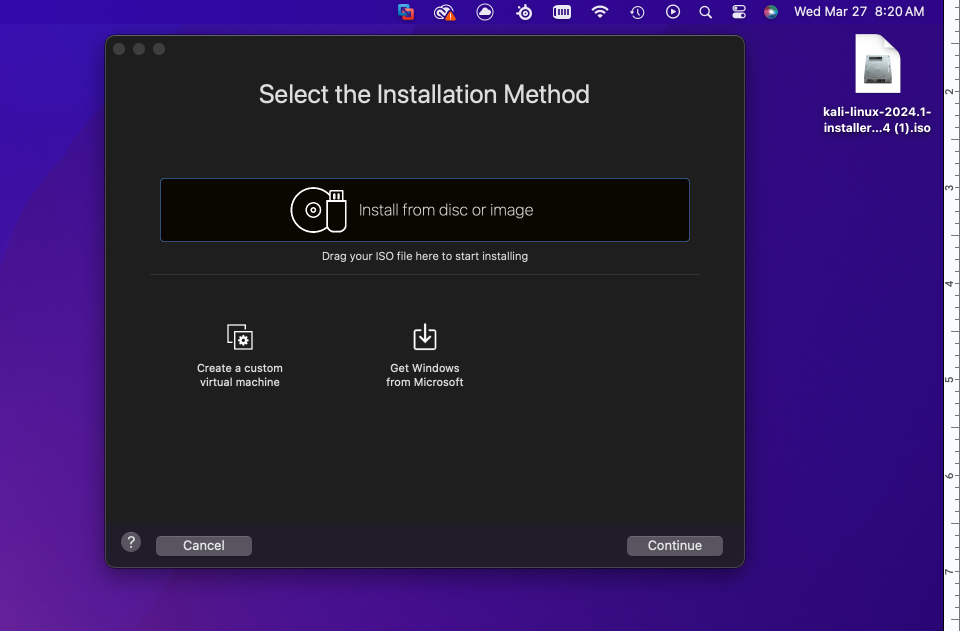
- Drag Kali Linux .iso file into the installation window
- Press continue
- Under Choose Operating System select Linux/Debian 11.x 64-bit Arm
- Select customize settings
- Rename the virtual Machine
- Click OK
- The settings window will open
- Choose Processors and Memory
- Change the processors to 4 cores
- Change the memory to 4096 MB
- Click show all
- Click Hard Disk
- Make sure its over 20GB
- Press the Play Button to launch VM
- Select Graphical Install with arrow keys
- Select your native language
- Select your country
- Select your keyboard language
- Configure the network as the default name “kali”
- Leave domain name blank
- Name your user
- Name your account
- Set your password


- Select time zone
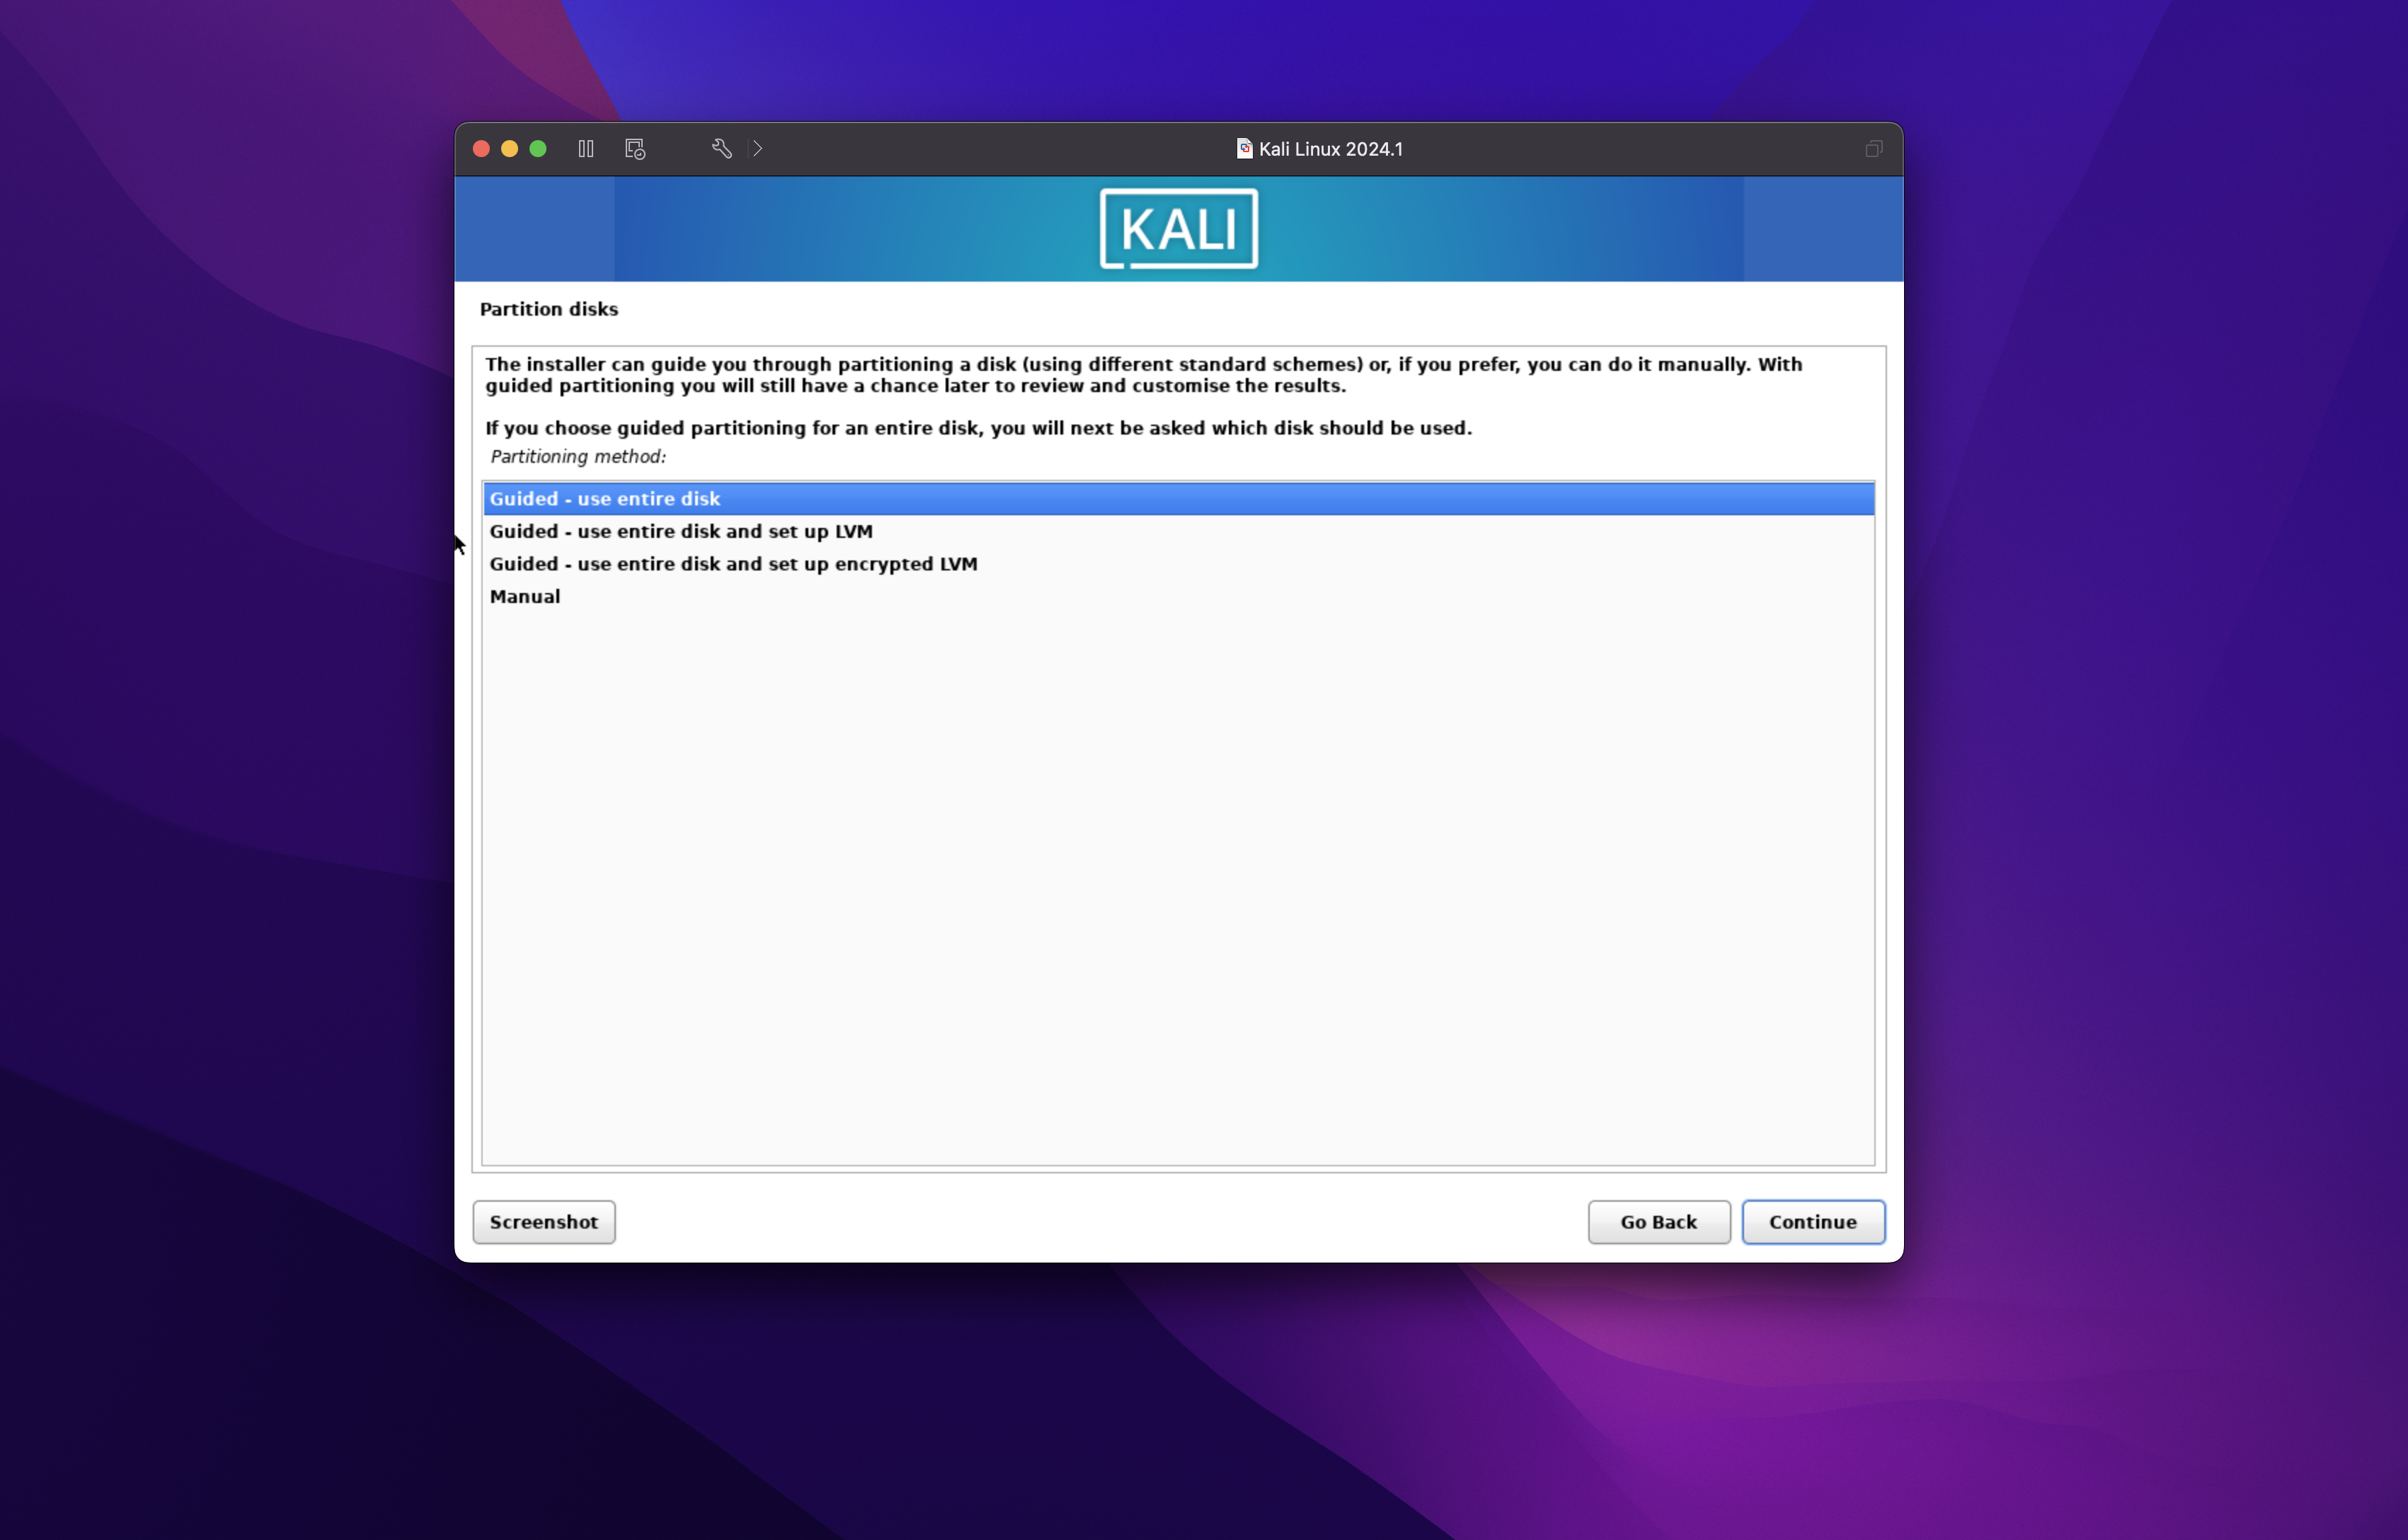
- Under disk partition, select Guided - User entire disk (it will only use the 20+ gb you allotted in VMware Fusion settings)
- Press continue again
- Select “All files in one partition”
- Select “Finish Partitioning and write changes to disk”
- Select “Yes” write changes to disk
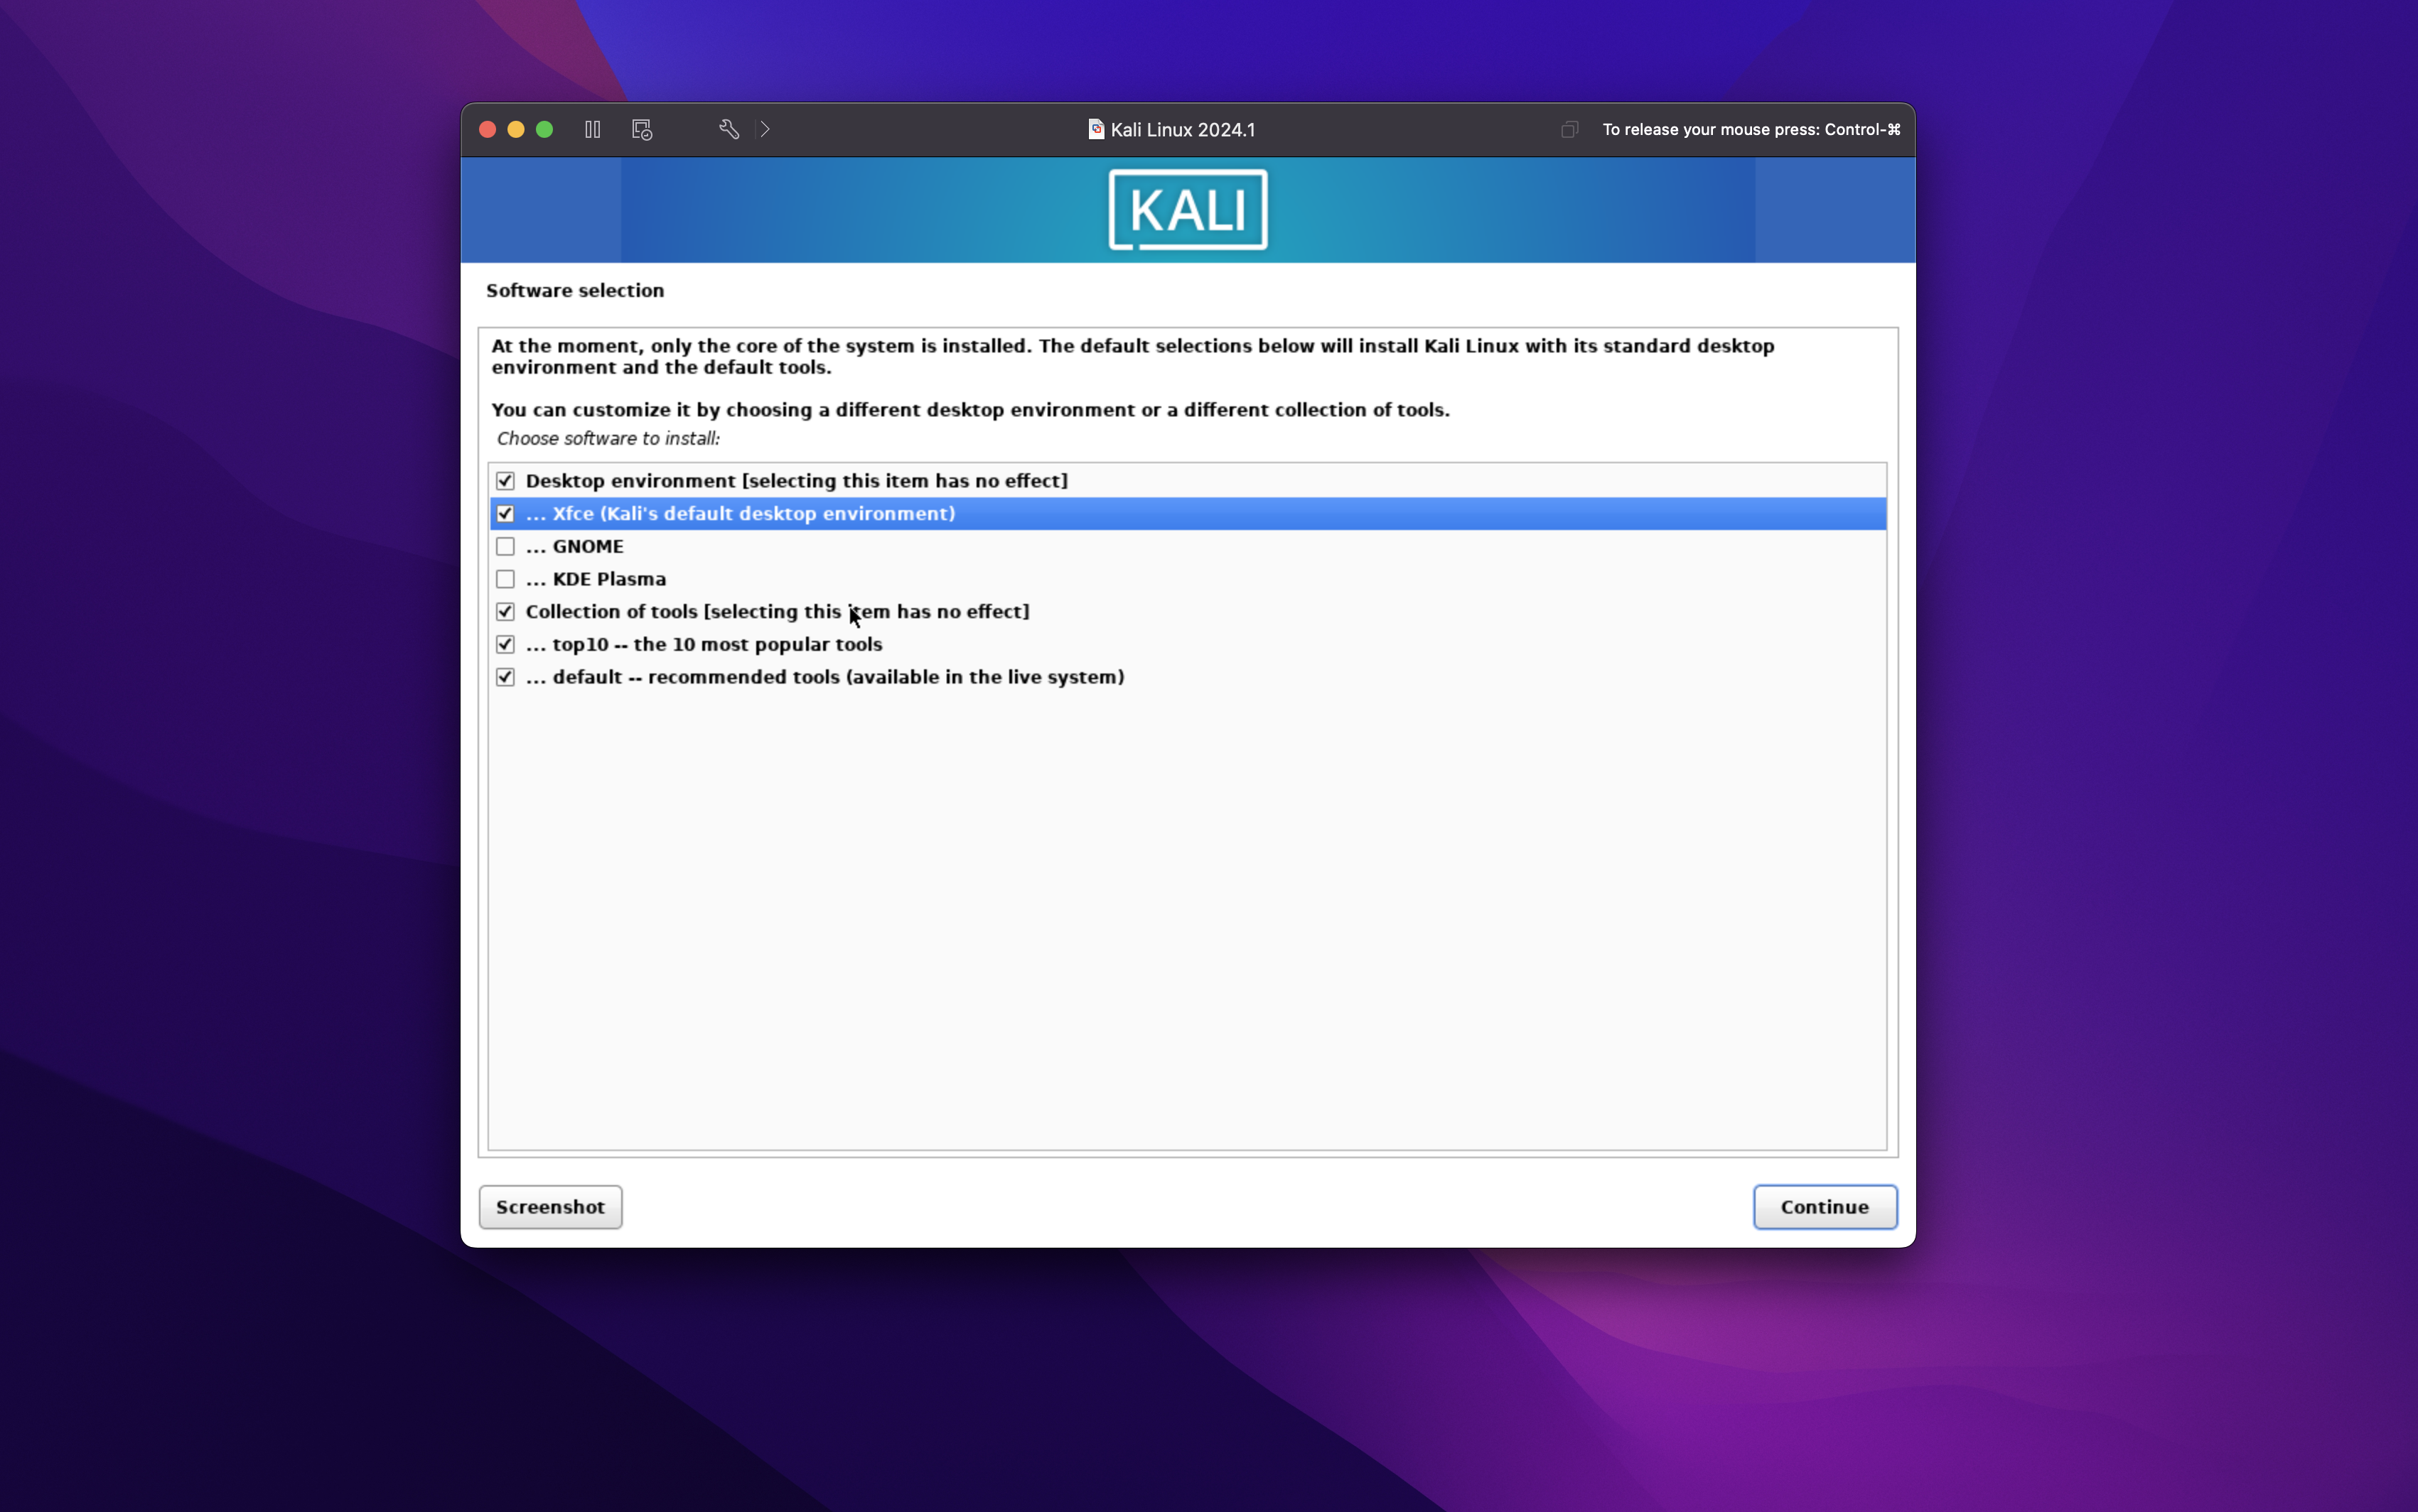
- Select Xfce or GNOME desktop environment
- Wait for install
- Click continue to reboot
- Bonus: Pull up terminal and type “sudo apt install kali-wallpapers-all”


Enjoy
