- 1. Download Kali Linux
- Go to www.kali.org
- Click Installer Images
- Click Apple Silicon (ARM64)
- 3. Install Kali Linux as virtual machine
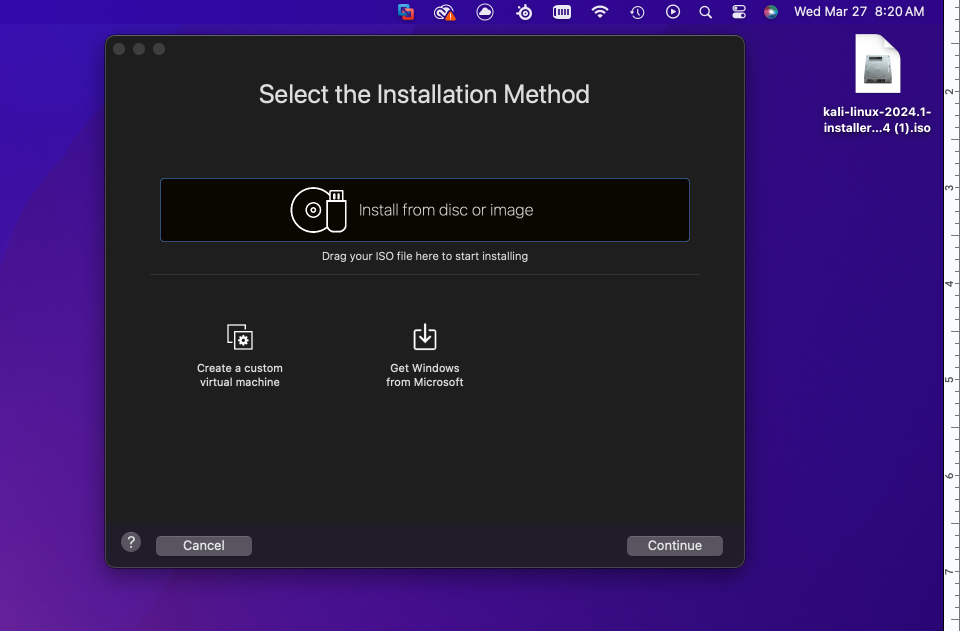
- Open VMware Fusion
- Drag Kali Linux .iso file into the installation window
- Press continue
Under Choose Operating System select Linux/Debian 11.x 64-bit Arm
Select customize settings
Rename the virtual Machine
Click OK
The settings window will open
Choose Processors and Memory
Change the processors to 4 cores
Change the memory to 4096 MB
Click show all
Click Hard Disk
Make sure its over 20GB
Press the Play Button to launch VM
Select Graphical Install with arrow keys
Select your native language
Select your country
Select your keyboard language
Configure the network as the default name “kali”
Leave domain name blank
Name your user
Name your account
Set your password
Select time zone
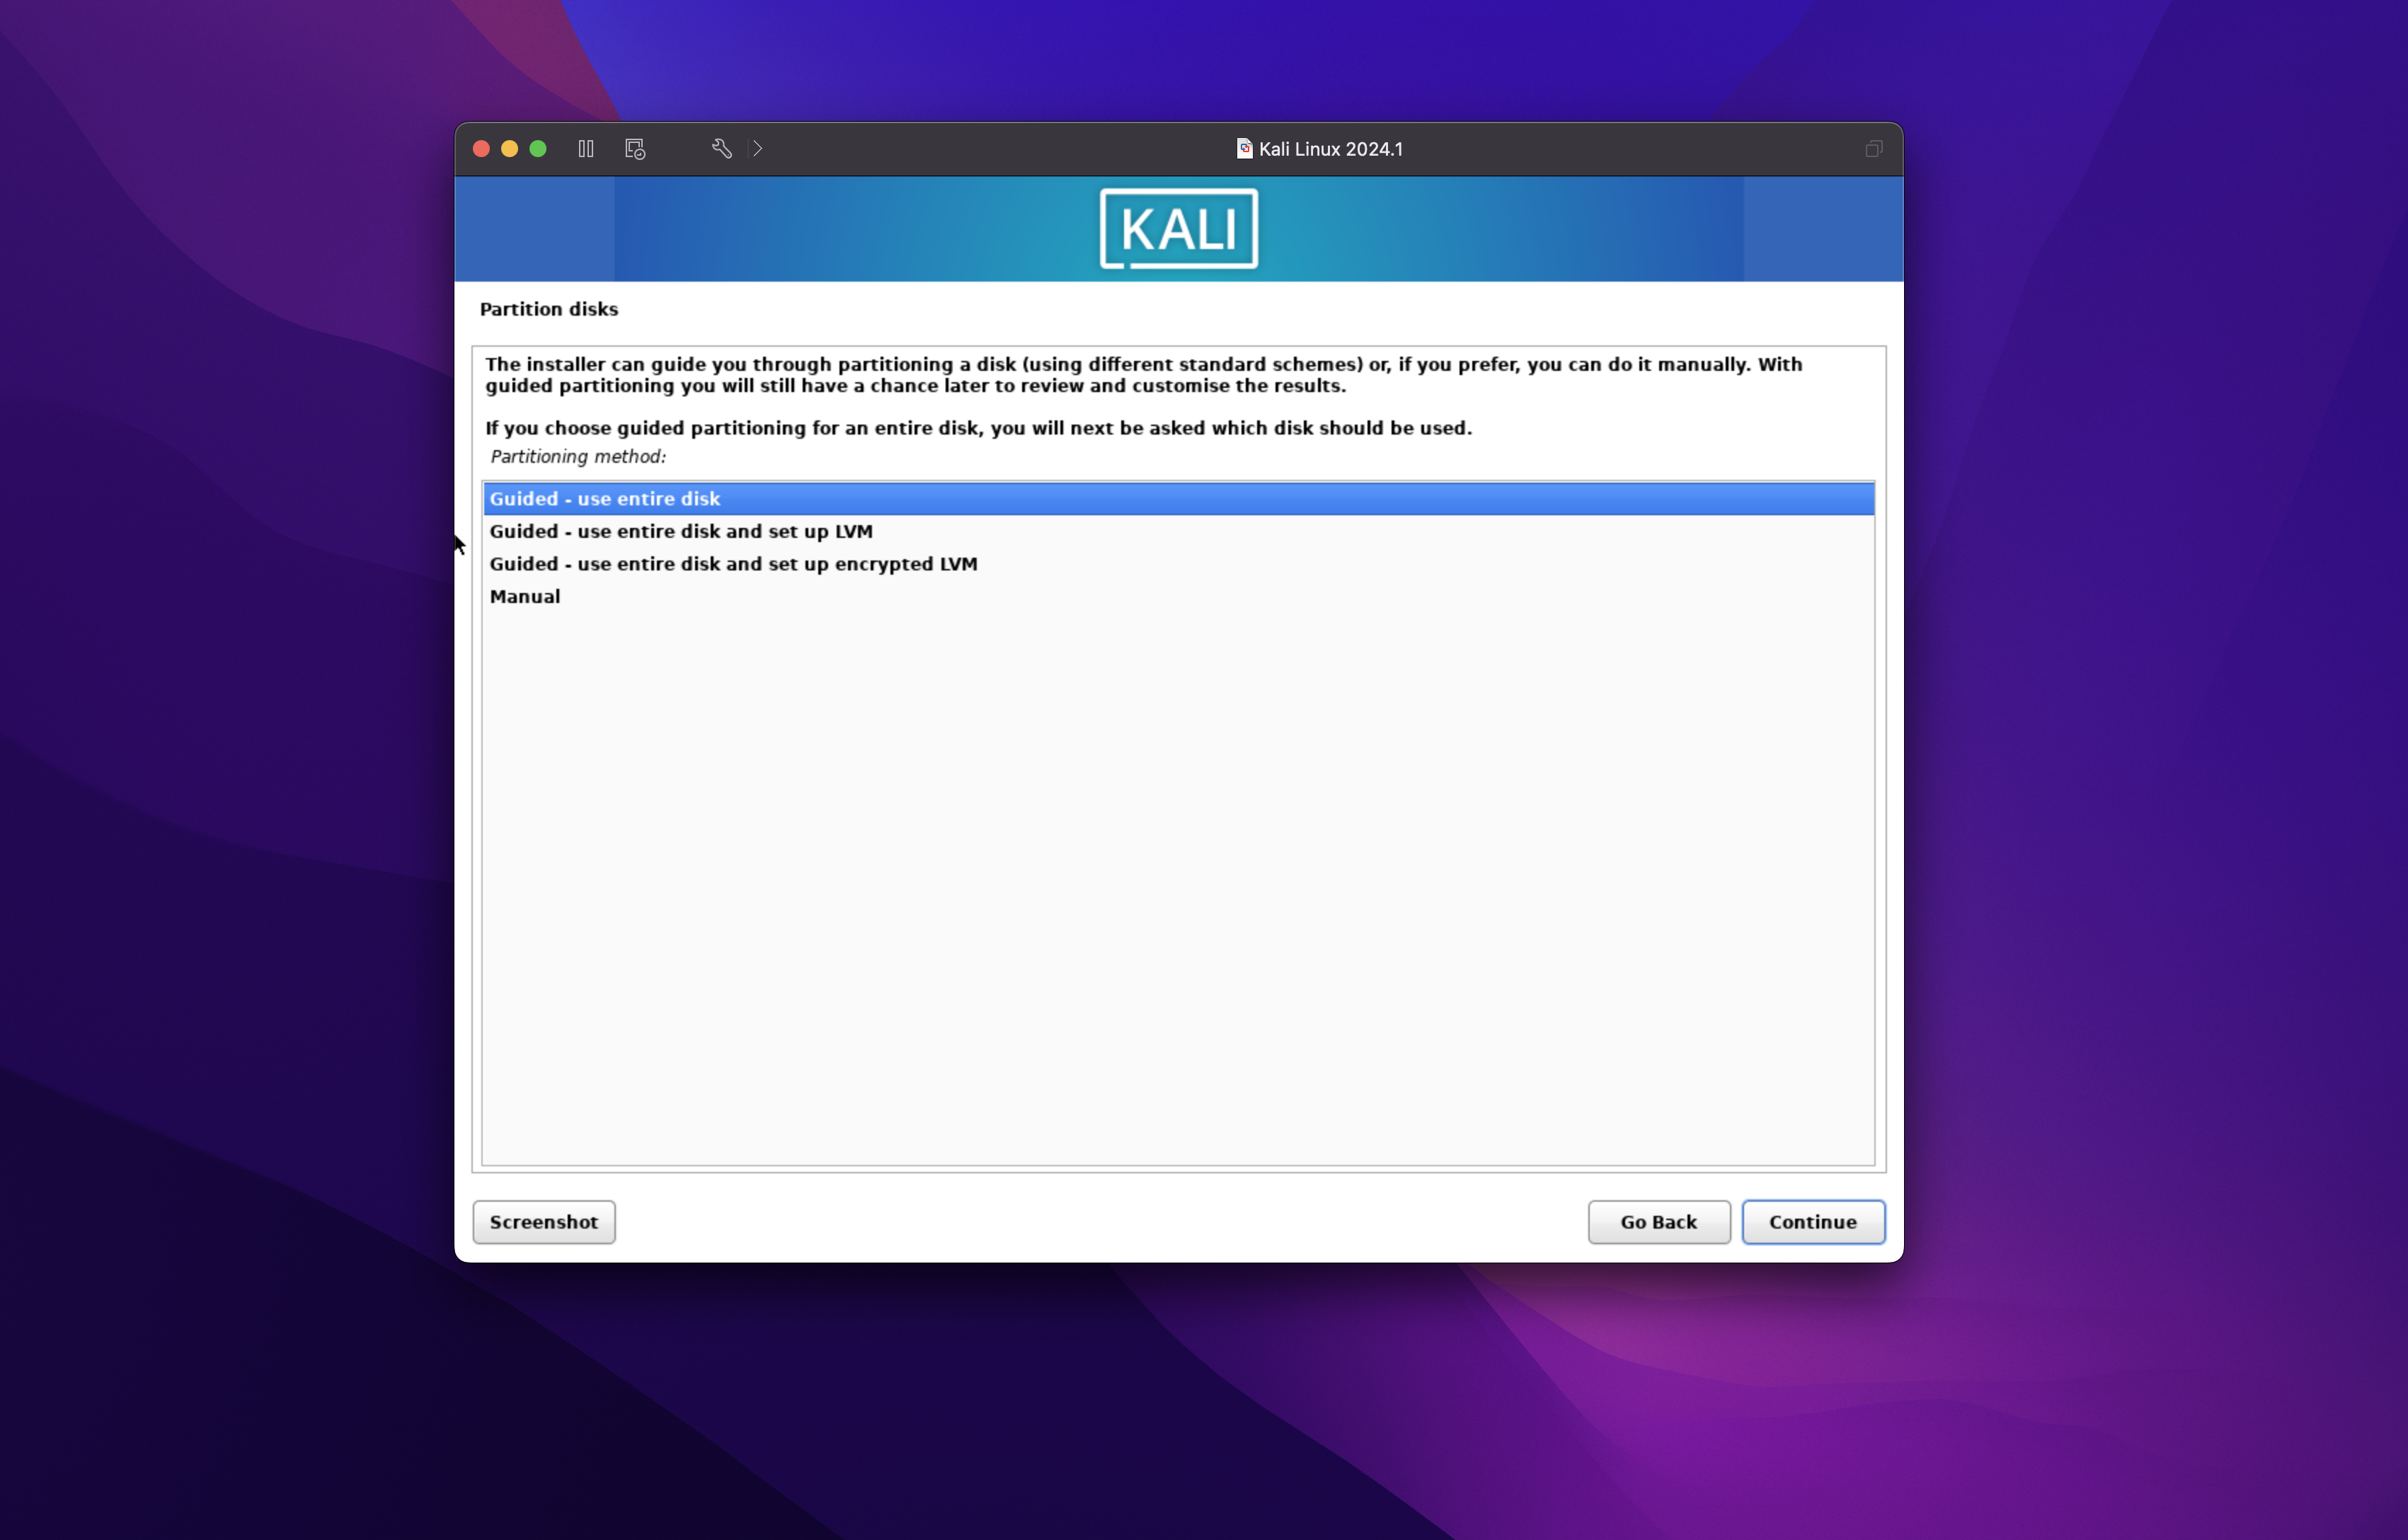
Under disk partition, select Guided - User entire disk (it will only use the 20+ gb you allotted in VMware Fusion settings)
Press continue again
Select “All files in one partition”
Select “Finish Partitioning and write changes to disk”
Select “Yes” write changes to disk
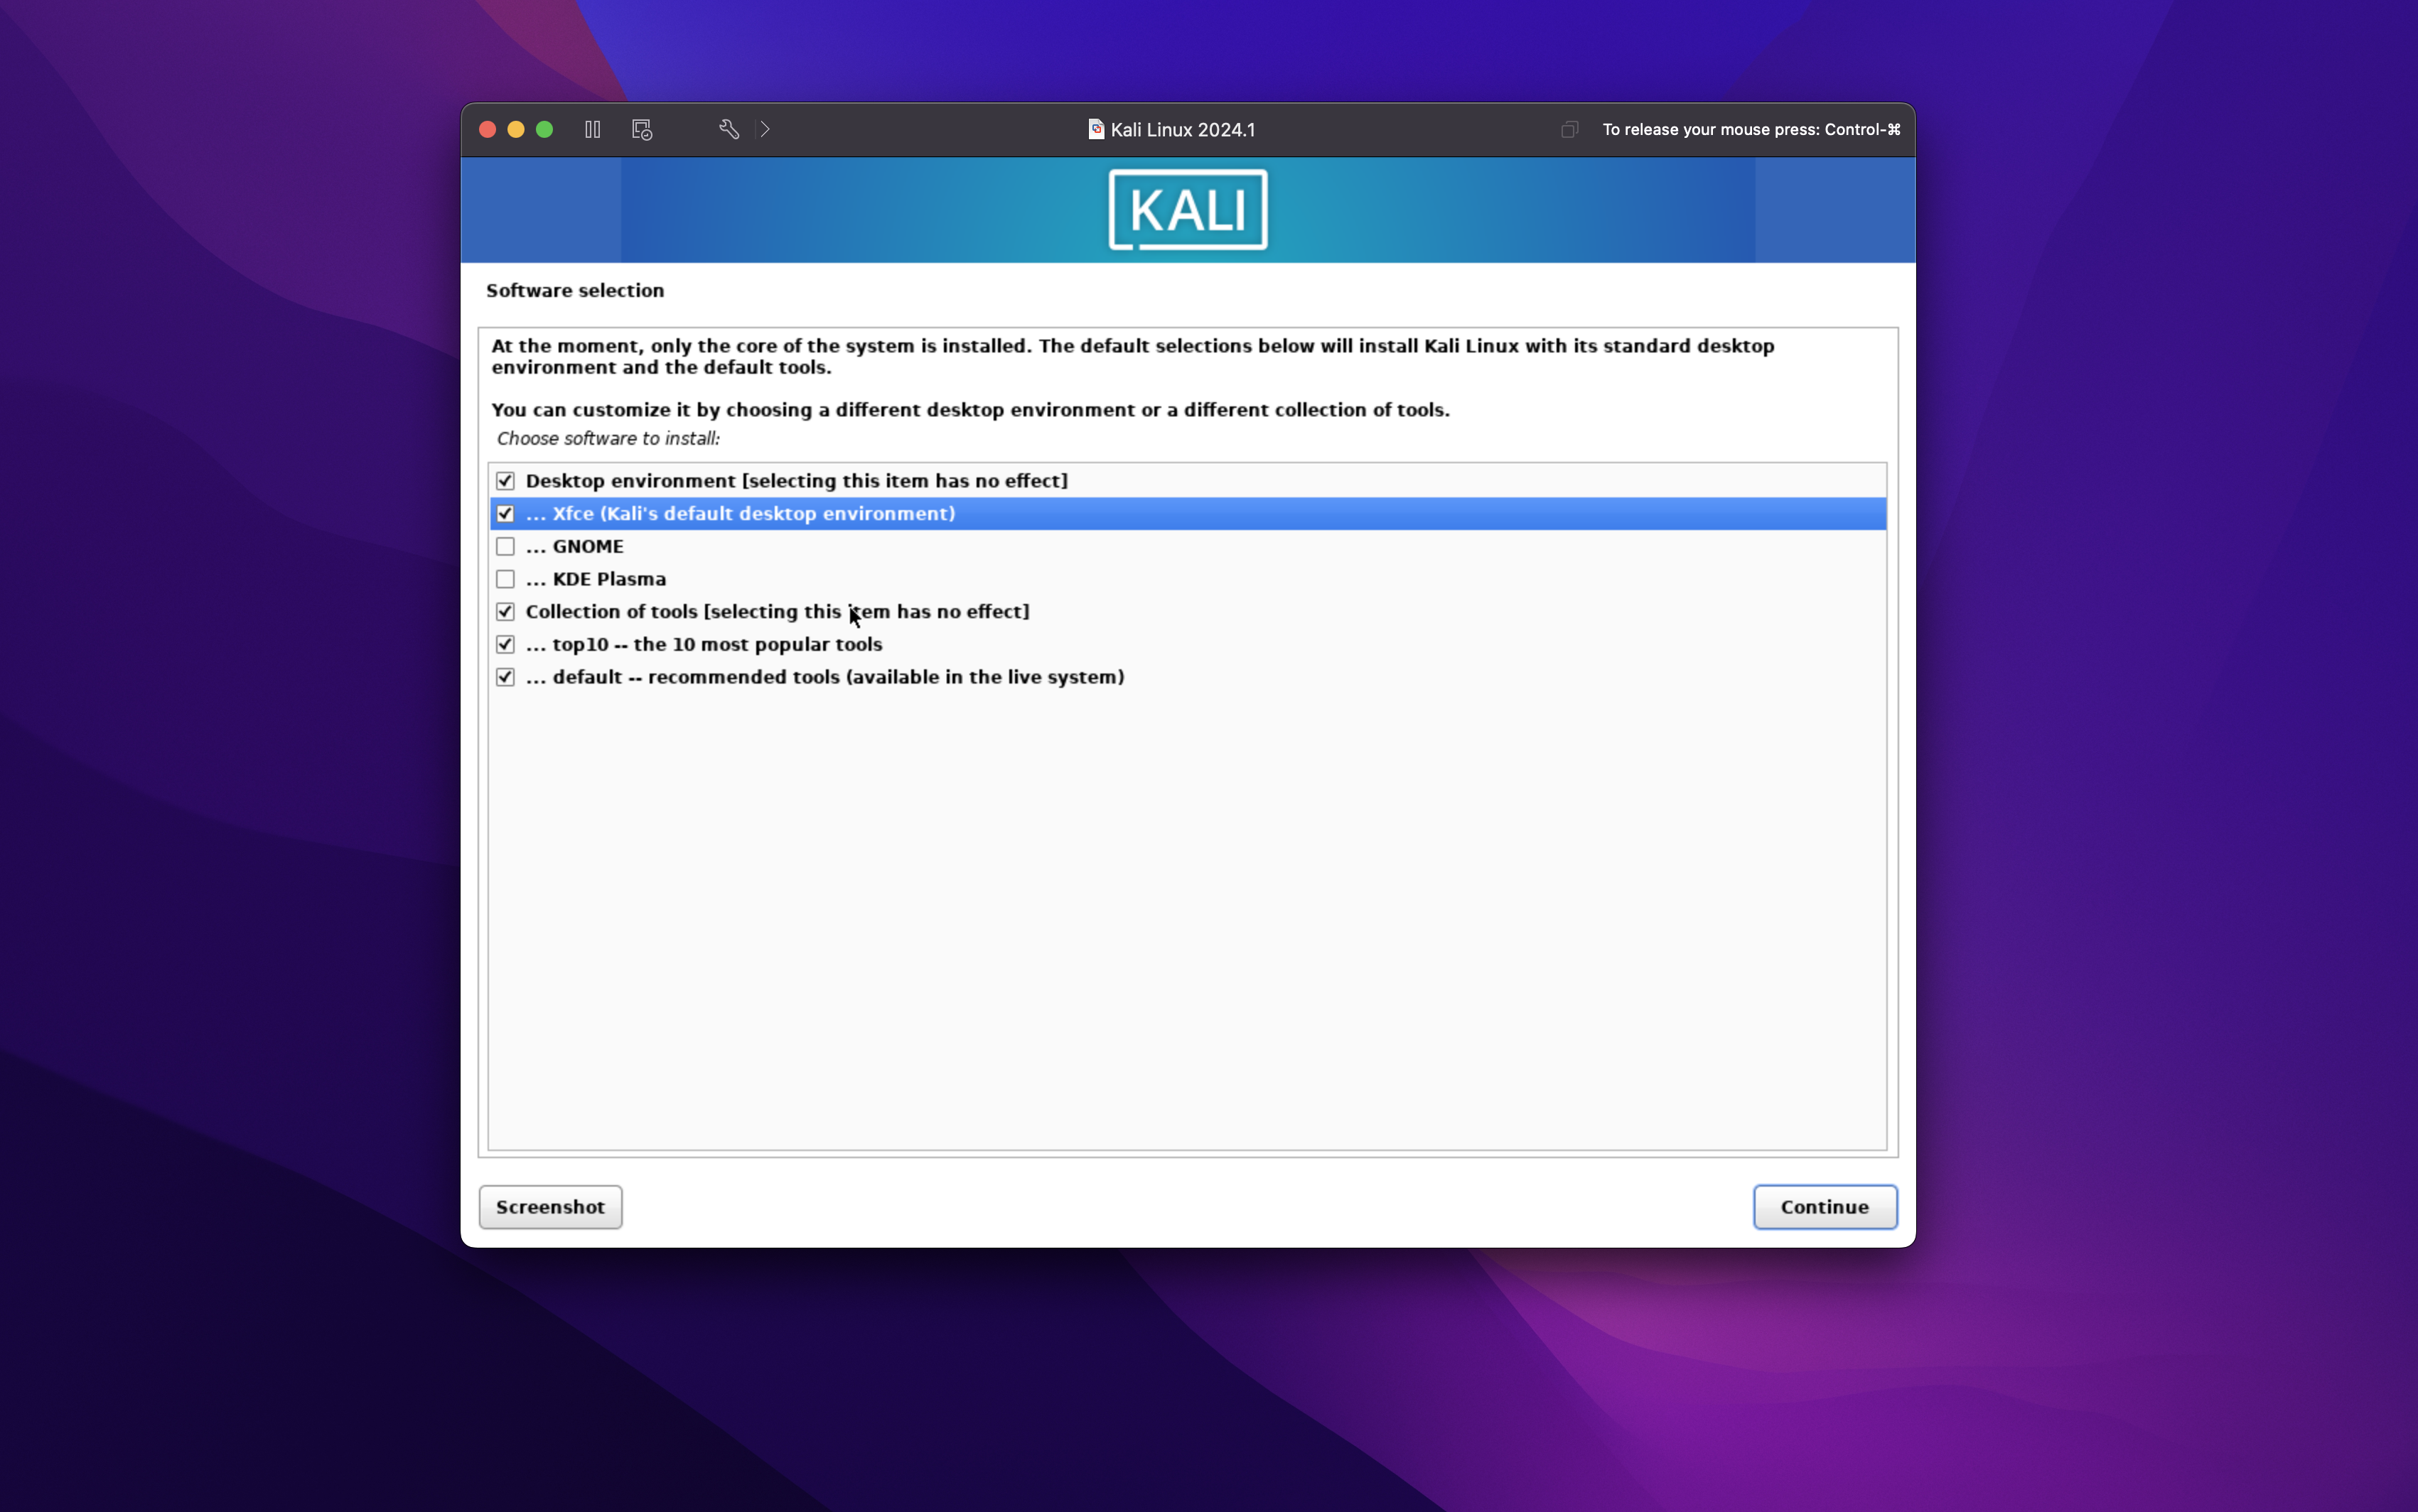
Select Xfce or GNOME desktop environment
Wait for install
Click continue to reboot
Bonus: Pull up terminal and type “sudo apt install kali-wallpapers-all”
Enjoy
If you recieved value from my blog, please consider donating!


